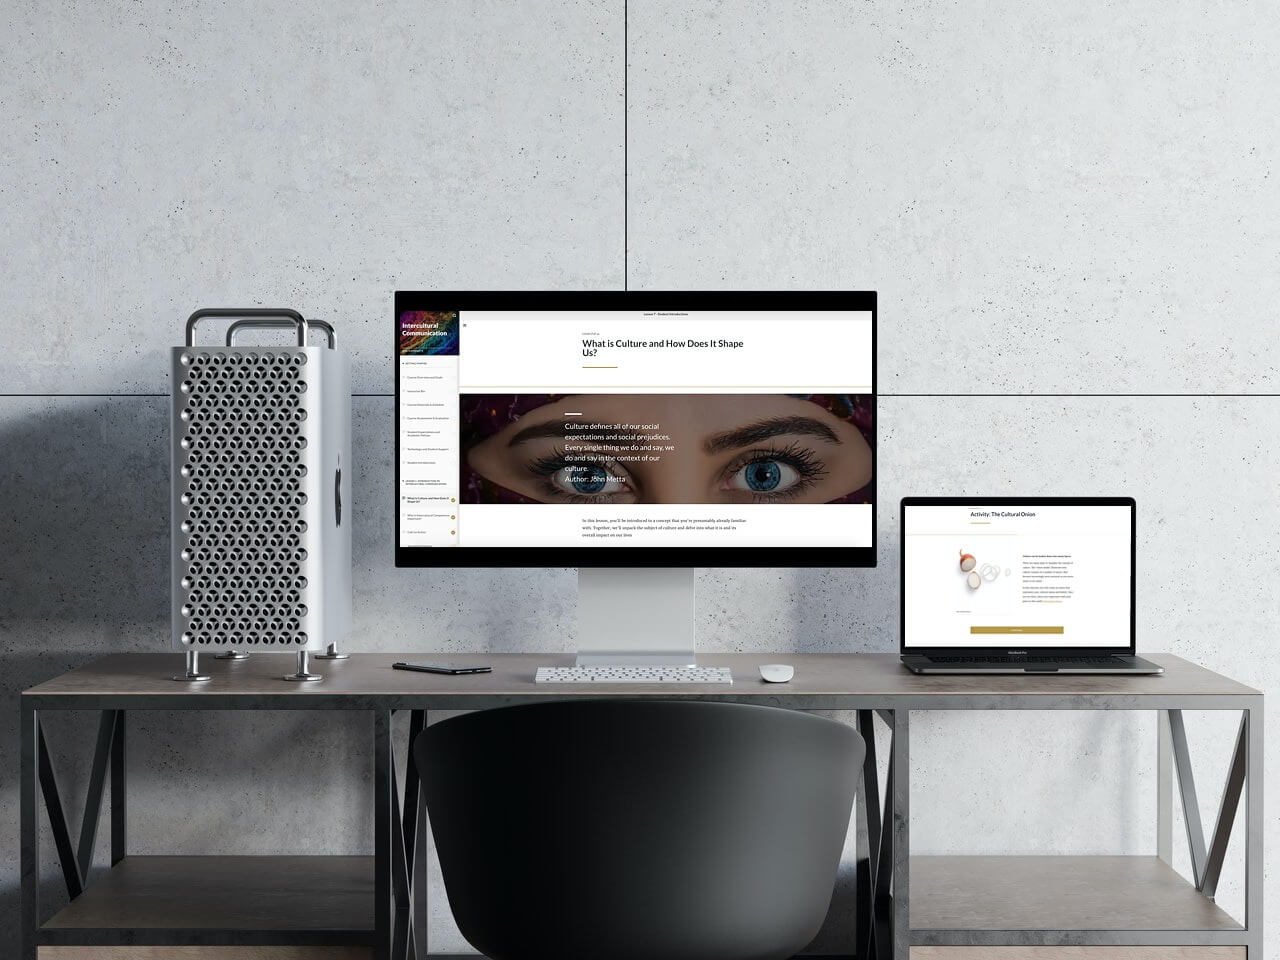
Intercultural Communication Course
About the Project
For me, a successfully designed course includes much more than great graphics. It’s also supported by great content that inspires people to get the most out of the learning experience. Finding the perfect balance between a course’s substance and style is important to me. I’d honestly say it’s my main priority as an instructional designer.
I was motivated to develop a course in Articulate Rise that offers an optimal blend of content, images, and interaction to keep learners engaged in it long enough to learn something exciting and new.
The original version of the course was delivered in person. It included a course companion site on D2L Brightspace to provide students with additional learning resources and a space to communicate with each other online.
Who is this project for?
The online course featured in this case study was developed for post-graduate university students.
It was adapted from an in-person course designed to help internationally educated students build and practice their intercultural communication skills.
Which tools are used in this project?
- Microsoft Word
- Adobe Spark
- Articulate Rise
My role
- Storyboarding
- Video making and editing
- Visual design
Design Process
Step 1: Create a course development blueprint
It was vital for me to capture the ‘essence’ of the original course in the redesigned version, so my first step involved creating a course development blueprint in Microsoft Word. This blueprint guided my design decisions. It also allowed me to envision the goals for the course and visualize how I would distribute learning resources, activities, and assignments each week.
Step 2: Develop a storyboard
Once I had completed a reasonably elaborate course blueprint, I was eager to organize the content and build the course in Rise.
I chunked and sequenced the PowerPoint slides delivered in the original course and added links to additional online articles, videos, and discussion boards. But I didn’t stop there.
I wanted to bring the storyboard to life before building it out page by page in Rise, so I used Adobe Spark to create a digital storyboard filled with stunning graphics and excerpts of the content that I would eventually include in the online course.
Step 3: Build the online course

LET’S FIND A SOLUTION
You have the vision to improve your organization, and I have the expertise to get you there.
